Posts

Making Time to Craft
Image
Very often we find ourselves (including me) make this excuse for not crafting..."Where's the Time?" And now that I have started on my blog and the facebook page (a lil more actively), a lot of my friends are actually wondering "HOW?" and calling me "SuperMOM". Well I've been there, so I thought I'd share my feelings with you'all. It was months ago that one of my friends also on maternity leave (like myself) discussed the topic of blogging with me. And the only unknown there was - "about what?". We aren't really whiz women or professors of any sort that we could enlighten the world with something new. But it is not about new. Nor enlightenment.  The crafting bug has forever resided deep inside of me. I just brought it out at times, played with the little thing and then imprisoned it again deep down inside. It made me happy when it was out. But I never could find the time to let it free. But if we do not have time to do ...
The Flubber Gak

Image
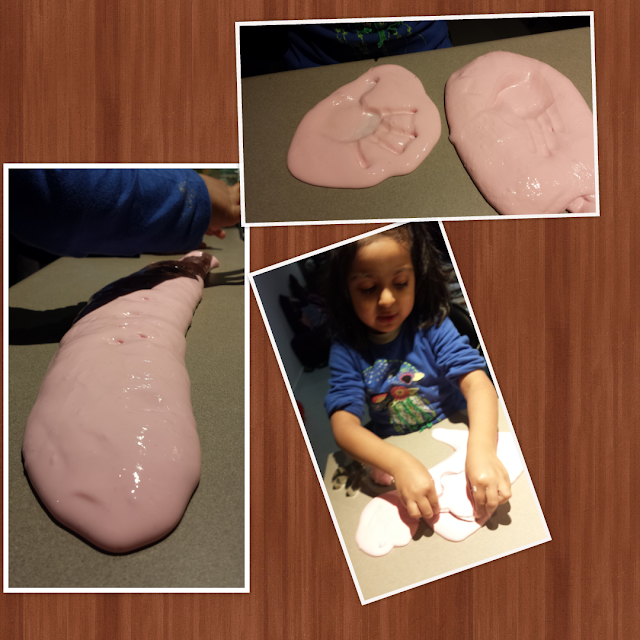
Tuesdays are always troubling at our place as its the first day of the week at the childcare inor the kiddos and they are really tired after a full day of play there....but since Anya has been eagerly awaiting making n playing with 'gak' for a few days now..she was eager to get to it as soon as we entered the house... It was by far the most fun n intriguing activity we've done so far....even for Anam! Although he couldn't make the gak...he did have his share of playing with the strange slushy slippery yuk! Of course under strict supervision! For the fun n excitement that it has provided ..this is a really simple project... Supplies needed... 1) 3 cups warm water 2.) 2 cups white PVA glue 3) 2 tsp Borax (found in the laundry n cleaning isle in the local supermarket) 4) Watercolors in the desired shade 5) Glitter (optional) 6) a big bowl & a small container  1. In the small container, mix the borax in 1 cup warm water until it completely dissolves. 2. I...

Heart Stamper

Image
Weekend is a time to finish of the household chores for me...but also the time when we can relax a bit and indulge the kiddos...so a quick and simple stamp painting was all that Anya needed..n a simple empty toilet roll tube and a few paints..what we needed... And she enjoyed stamping away all afternoon...and even learning a bit about colors....that yellow and red make up orange... We even managed to create a bubble heart :) yayy...fun unlimited...stamp stamp stamping!

The Edible Finger Paints

Image
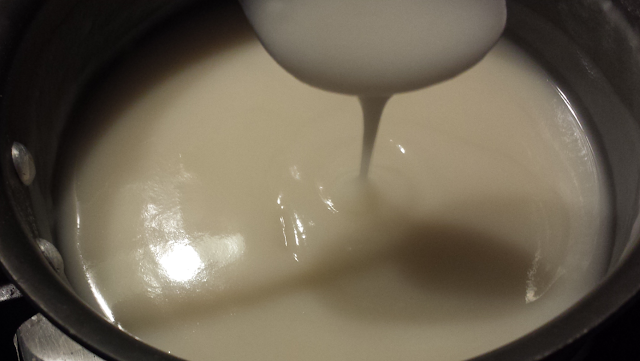
My princess loves painting..so nearly everyday she asks me to do some sort of painting...but mostly I end up refusing because of my lil monster...he wants to eat n throw everything...so I can only imagine the mess he'll create if we paint while he is up...not his fault..he is just curious about new things..that is how a 14 month old should behave... So anyways... I came across a finger paint recipie online...n then there were numerous....so I decided to take it on with n for my kiddos... Here's what we did.... Ingredients.. 1/3rd cup flour 2 cups water 1 teaspoon salt 2 tablespoon sugar Food colorings 1. Mix the water, salt and sugar and heat on a low/medium flame in a pan. 2. Add the flour and keep mixing. Dissolve any lumps. 3. Heat the mixture on medium and keep stirring until the desired consistency is achieved. I kept it a little flowy as my kiddos are especially fond of messy painting. 4. Once desired consistency is achieved, divide the mixture into 3/4...

We're back ! Update...

Its been a few months since I posted here.....we've been pretty busy at our place with the kids running around and growing up into naughtier brats :p...and me joining back work after the long maternity leave (Bliss!) ...ohh so we've done loads in this while but I just couldn't come back here to share the fun .....but now that we're back, hopefully we'll be more active with sharing our messy adventures ! Look out for our new playdough and paints making recipies soon..lotsa homemade safe stuff being created these days as my lil monster is more inquisitive about putting his hands into everything and anything the big sister is playing with ! Hoping to hear and read your comments ... Until next time.....Keep Kreating !!

Crayon Recycling - Teddy Marble Crayons

Image
A fun activity for my kiddo while de-cluttering the craft drawers...we decided to recycle all our old, broken, mixed up crayons into absolutely cute teddy mixed  marble crayons....As Aanu calls them...magic crayons...various colors within one piece.... here are the basic steps.... 1. Collect n chop mixed up old n broken crayons. 2. Sort them in some colour arrangement (We just sorted then in closer shades) 3. Fill the chopped bits into an ice cube tray (Ours is a cute teddy shape) 4. Put the Ice tray in the oven at 100 degree C for about 10 minutes. (some brands take longer to melt) 5. Take the tray out of the oven and cool on a cooling rack for 10 minutes and then put into the fridge for an hour. 6. Take the tray out of the fridge and push the set crayons out of the silicone tray. VOILA !!! New marble teddy crayons ready for action ! :) We loved to create these fun crayons..tell us if you try !!

Toilet roll froggy

Image
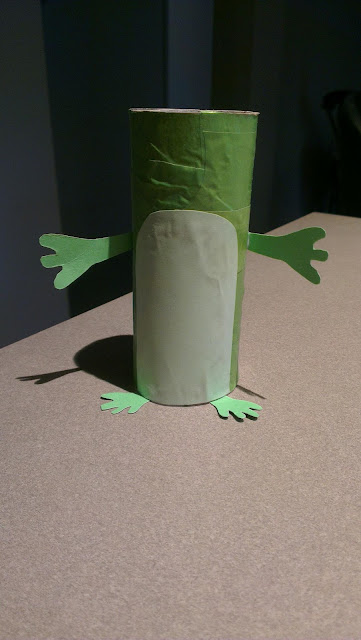
A simple n gr8 looking quick froggy made out of a common empty toilet roll! What's required... 1. Toilet roll 2. Green paper 3. Light green/ yellow paper 4. Black marker 5. Googly eyes 6. Little red paper Pictorial tutorial follows ...