Posts

Showing posts with the label kids craft

Hairy Moong Mary

Image
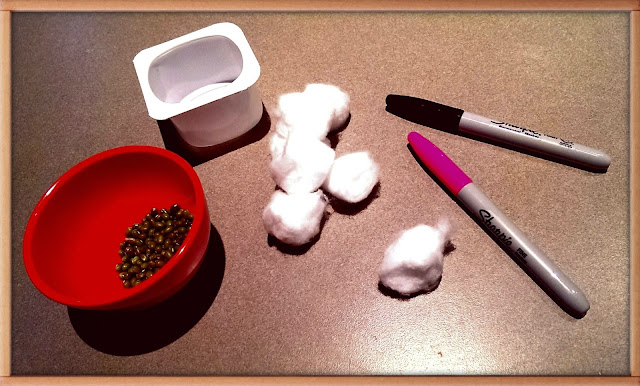
Anya is learning about the plant life cycle by growing some plants at kinder, so I thought why not do this fun learning activity at home! While a lot of fun, this teaches toddlers about how a seed becomes a seedling n then a plant! It also instills caring by making them aware that plants need water and sunlight to thrive and grow. And all you need are a couple of handy everyday things... 1. An empty yoghurt tub 2. Some cotton balls 3. A couple of Sharpie's 4. Some Moong lentil (or any whole lentil should do) So to make our hairy Mary I just got anya to draw a face on the yoghurt tub however she wanted n helped her with it. Then filled it up with cotton balls to about 3/4th full. Then scattered the lentils all over the cotton and watered it in so the cotton is soaked. And then just left it at a party sunny spot. The seeds start to sprout the very next day but it takes a while for the shoots to grow longer. This is how ours looks in 10 days... And experimenting further...
Watercolor, Glue and Salt Painting - Take One!

Image
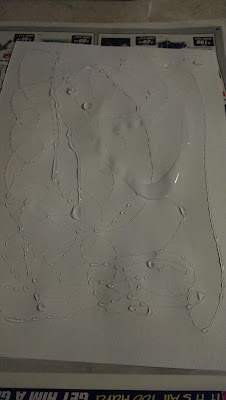
Ohk so there are so many ways to do paintings with these 3 ingredients out there that I wasn't sure which one to try :/ So I decided we will try them all..so we can put it to rest which one gives the best results. All you need for Take One... Clear glue Watercolors Table salt Watercolor paper Paint brushes And of course a krafty toddler! :) So for take One, this is what we did... 1. We dropped the clear glue all around the watercolor paper. You can do a meaningful pattern or just abstract. We left it to dry completely. 2. I got my kiddo to paint all over the dried, glue dripped paper with generous amounts of paints n water. The trick is to have it really wet. 3. Then I got her to sprinkle the salt on the wet paint anyway she pleased.  R. And that's it. The salt soaked up the wet paint and crystallized giving a starburst effect the the painting. So in this technique, the glue just forms a pattern underneath the pai...

Paper Bag Puppets

Image
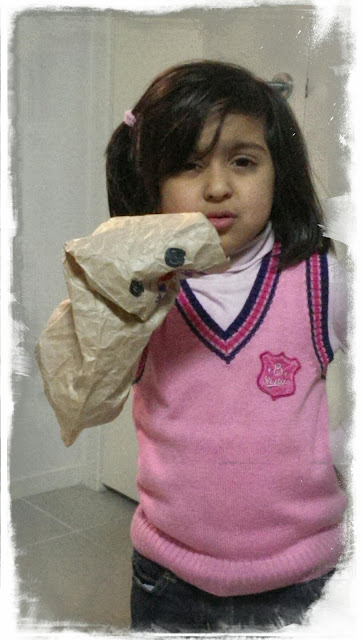
Been a busy weekend for us...with lots of cooking and the company of good friends...and the usual grocery shopping! But this time, papa also got a wine bottle..so obviously we got a long brown paper bag...so what an amazing little thing for the kiddos to have endless fun... We made it into a snake ..n both the kiddos enjoyed playing with and taking turns with our paper bag puppet snake!....sssssssss..... Can't leave an opportunity to be kreative! Hope you all had a gr8 weekend too!

Handprints and Footprints Zoo

Image
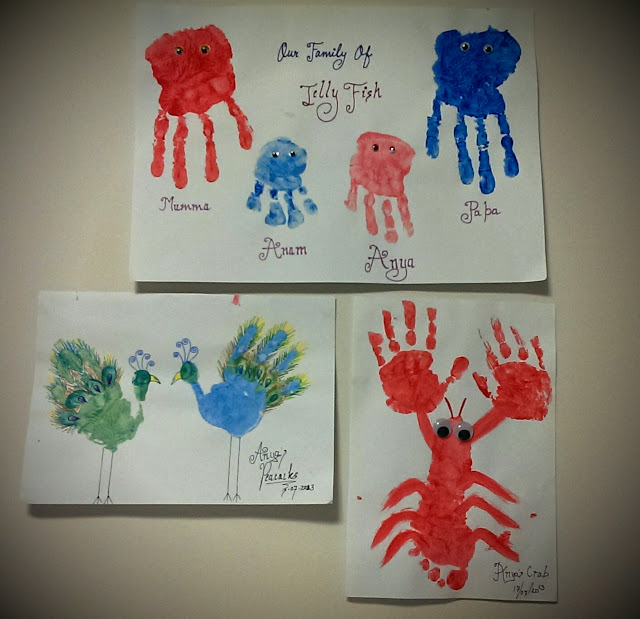
After our handprint peacocks...Anya wanted to do more hands and even feet prints....so I searched around and found some great ideas...and we did a few of them... All you need for this fun activity ... Watercolors Paper Some brushes/ sponges Some markers And super-keen and krafty toddlers :p We made a crab by printing one foot as the crab's body..and then 2 handprints on top on each side to make the clasps. Then just used a brush to join the handprints to the footprint..and some legs at the side...and 2 tentacles at the top... Once it dried we added 2 googgly eyes...Done!  If you have not seen the peacocks we did the other day..the post can be found here ...didn't they look absolutely adorable!  We also made Footprint Butterflies for both kids...these r my absolute favorite...must make keepsake for those cute lil feet... And finally (for now) we made our Family of Jellyfish ! So we all pitched in to make th...

The Edible Finger Paints

Image
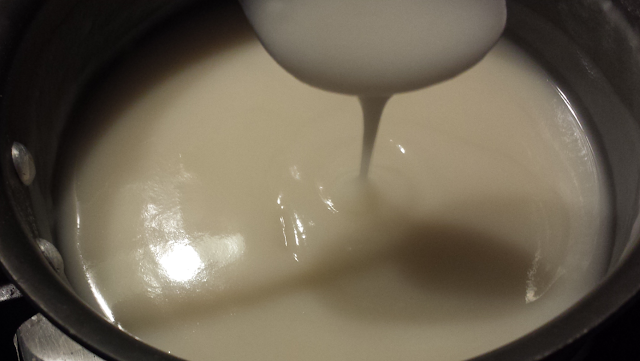
My princess loves painting..so nearly everyday she asks me to do some sort of painting...but mostly I end up refusing because of my lil monster...he wants to eat n throw everything...so I can only imagine the mess he'll create if we paint while he is up...not his fault..he is just curious about new things..that is how a 14 month old should behave... So anyways... I came across a finger paint recipie online...n then there were numerous....so I decided to take it on with n for my kiddos... Here's what we did.... Ingredients.. 1/3rd cup flour 2 cups water 1 teaspoon salt 2 tablespoon sugar Food colorings 1. Mix the water, salt and sugar and heat on a low/medium flame in a pan. 2. Add the flour and keep mixing. Dissolve any lumps. 3. Heat the mixture on medium and keep stirring until the desired consistency is achieved. I kept it a little flowy as my kiddos are especially fond of messy painting. 4. Once desired consistency is achieved, divide the mixture into 3/4...

Toilet roll froggy

Image
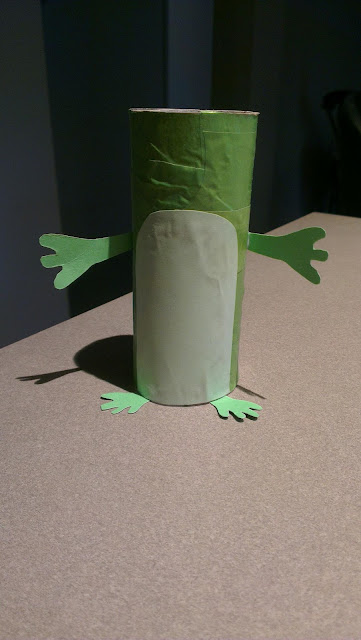
A simple n gr8 looking quick froggy made out of a common empty toilet roll! What's required... 1. Toilet roll 2. Green paper 3. Light green/ yellow paper 4. Black marker 5. Googly eyes 6. Little red paper Pictorial tutorial follows ...

The croaking PET frog

Image
Yup it croaks..n its made out of a pet bottle...very simple n fun for the little kiddies... What's needed... 1. a PET bottle 2. A green paper 3. Some black paper/ black marker 4. Two pom-poms 5. Scissors 6. Glue 7. A plastic spoon How we made it... 1. Cut a pet bottle so it has the ridges and an open mouth to insert the paper 2. Cut & paste a mouth and nostrils off the black paper or draw with a black marker on the green paper 3. Roll and insert the green sheet on paper inside the bottle 4. Cut the froggy feet from the extra green paper and using the glue paste under the bottle below the mouth 5. Paste the pom-pom's at the top as eyes of the frog 6. Now use the plastic spoon to run over the ridges n make the froggy croak!! Anya totally enjoyed making this one...in fact she saw this on mister maker..n insisted we make it at home too!

Incy wincy spider

Image
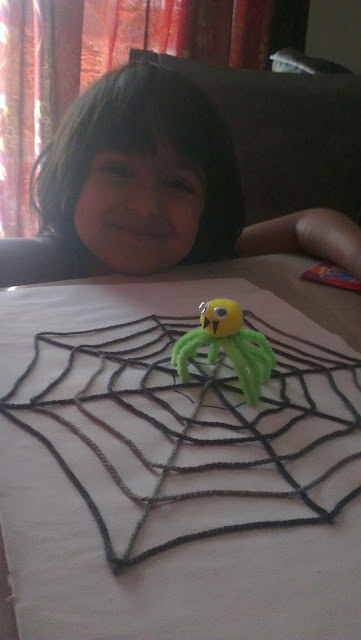
Another enjoyable craft piece Anya loved doing last week! Made the web on a sheet of paper 1. Drew a web pattern with a pencil on the paper. 2. Applied a mixture of glue and water all over the pattern. 3. Pasted wool all along the pattern. Done! For the spider 1. Pasted together 4 pipe cleaners at the centre. Bent the sticks to look like 8 spider legs. 2. Pasted a pom-pom over the joint. 3. Put some googly eyes n mouth. And vola...u have the spider!