Posts

Showing posts with the label art

Sharpie Shoes Hack

Image
Another popular school holiday activity / hack is the sharpie shoes. So we thought we'd give it a go too.

Watercolor, Glue and Salt Painting - Take One!

Image
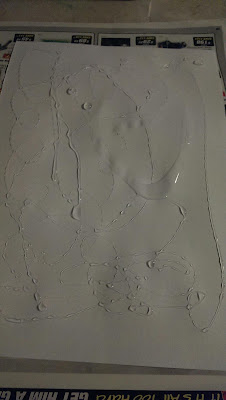
Ohk so there are so many ways to do paintings with these 3 ingredients out there that I wasn't sure which one to try :/ So I decided we will try them all..so we can put it to rest which one gives the best results. All you need for Take One... Clear glue Watercolors Table salt Watercolor paper Paint brushes And of course a krafty toddler! :) So for take One, this is what we did... 1. We dropped the clear glue all around the watercolor paper. You can do a meaningful pattern or just abstract. We left it to dry completely. 2. I got my kiddo to paint all over the dried, glue dripped paper with generous amounts of paints n water. The trick is to have it really wet. 3. Then I got her to sprinkle the salt on the wet paint anyway she pleased.  R. And that's it. The salt soaked up the wet paint and crystallized giving a starburst effect the the painting. So in this technique, the glue just forms a pattern underneath the pai...

String Painting

Image
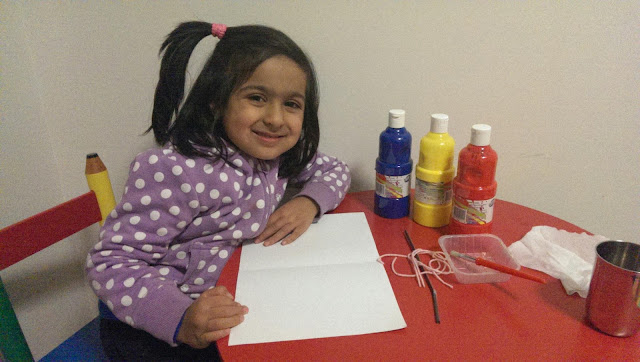
So Anya came from her play school last evening with a finishing string (we'll make more at home and then I'll share with all of you) and some extra string (simple thick wool). And she told me she wanted to paint with the string. She had no idea how though. the string was tied to a straw on one end and the other end was loose so she liked the idea of moving around the string by controlling the straw. But this reminded me of the thread/ string painting we used to do as kids....so I put hubby dear on the duty to take care of the lil monster and we gathered the supplies needed. Paints String (wool or any string should be fine) Paper a keen toddler !! :) Thats it ! And doing it is even simpler...just dip the various threads in different colors and put them on a sheet of paper (creased in half)...let the clean ends stay out of the sheet a bit. Then just fold the sheet(with the paint dipped threads inside the fold)..and press and squish and move the thread ...

Handprint Peacocks

Image
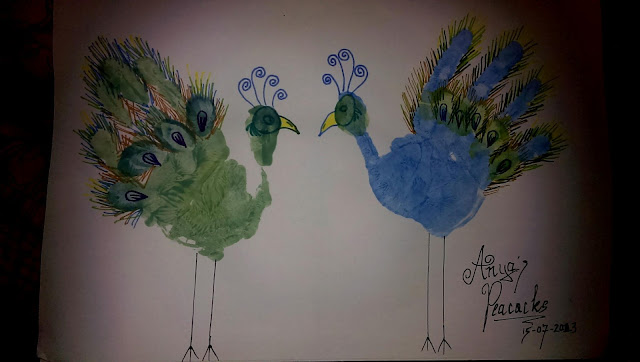
My darling daughter loves painting with her hands and fingers....more often than not they turn out to b messy paintings...but sometimes you wanna keep the little hand-prints as keepsakes .... Today we turned her little hand-prints into pretty peacocks ...as a reminder for us ....what our beautiful little angel was upto at this age....a few years down the line I am sure she herself would b amazed at how little her creative hands were.... And a keepsake for us for a lifetime! 

Making Time to Craft

Image
Very often we find ourselves (including me) make this excuse for not crafting..."Where's the Time?" And now that I have started on my blog and the facebook page (a lil more actively), a lot of my friends are actually wondering "HOW?" and calling me "SuperMOM". Well I've been there, so I thought I'd share my feelings with you'all. It was months ago that one of my friends also on maternity leave (like myself) discussed the topic of blogging with me. And the only unknown there was - "about what?". We aren't really whiz women or professors of any sort that we could enlighten the world with something new. But it is not about new. Nor enlightenment.  The crafting bug has forever resided deep inside of me. I just brought it out at times, played with the little thing and then imprisoned it again deep down inside. It made me happy when it was out. But I never could find the time to let it free. But if we do not have time to do ...

The Edible Finger Paints

Image
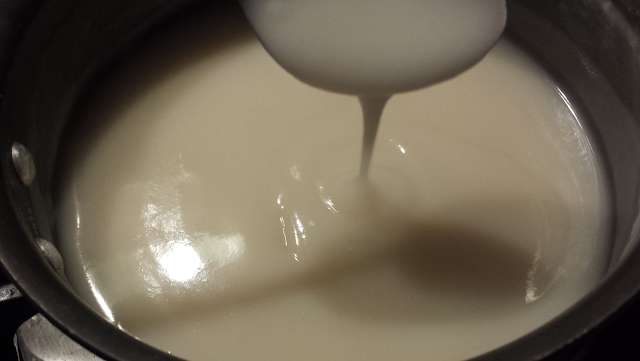
My princess loves painting..so nearly everyday she asks me to do some sort of painting...but mostly I end up refusing because of my lil monster...he wants to eat n throw everything...so I can only imagine the mess he'll create if we paint while he is up...not his fault..he is just curious about new things..that is how a 14 month old should behave... So anyways... I came across a finger paint recipie online...n then there were numerous....so I decided to take it on with n for my kiddos... Here's what we did.... Ingredients.. 1/3rd cup flour 2 cups water 1 teaspoon salt 2 tablespoon sugar Food colorings 1. Mix the water, salt and sugar and heat on a low/medium flame in a pan. 2. Add the flour and keep mixing. Dissolve any lumps. 3. Heat the mixture on medium and keep stirring until the desired consistency is achieved. I kept it a little flowy as my kiddos are especially fond of messy painting. 4. Once desired consistency is achieved, divide the mixture into 3/4...

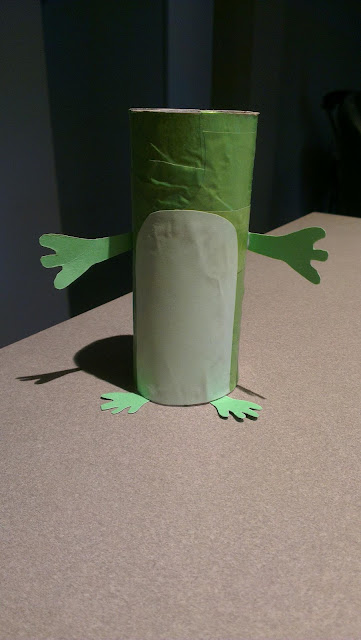
Toilet roll froggy

Image
A simple n gr8 looking quick froggy made out of a common empty toilet roll! What's required... 1. Toilet roll 2. Green paper 3. Light green/ yellow paper 4. Black marker 5. Googly eyes 6. Little red paper Pictorial tutorial follows ...

The croaking PET frog

Image
Yup it croaks..n its made out of a pet bottle...very simple n fun for the little kiddies... What's needed... 1. a PET bottle 2. A green paper 3. Some black paper/ black marker 4. Two pom-poms 5. Scissors 6. Glue 7. A plastic spoon How we made it... 1. Cut a pet bottle so it has the ridges and an open mouth to insert the paper 2. Cut & paste a mouth and nostrils off the black paper or draw with a black marker on the green paper 3. Roll and insert the green sheet on paper inside the bottle 4. Cut the froggy feet from the extra green paper and using the glue paste under the bottle below the mouth 5. Paste the pom-pom's at the top as eyes of the frog 6. Now use the plastic spoon to run over the ridges n make the froggy croak!! Anya totally enjoyed making this one...in fact she saw this on mister maker..n insisted we make it at home too!

Rainbow pallete

Image
An easy peasy painting I did last month.. 1. Pasted crayons on top of the canvas. 2. Used a hair dryer to melt the crayons. 3. Takes time, but when you manage all colors..this is how it comes out!

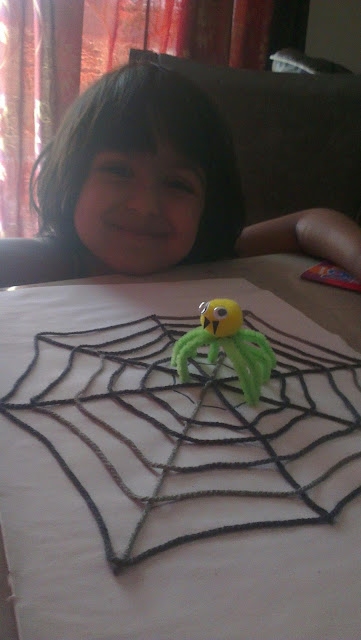
Incy wincy spider

Image
Another enjoyable craft piece Anya loved doing last week! Made the web on a sheet of paper 1. Drew a web pattern with a pencil on the paper. 2. Applied a mixture of glue and water all over the pattern. 3. Pasted wool all along the pattern. Done! For the spider 1. Pasted together 4 pipe cleaners at the centre. Bent the sticks to look like 8 spider legs. 2. Pasted a pom-pom over the joint. 3. Put some googly eyes n mouth. And vola...u have the spider!